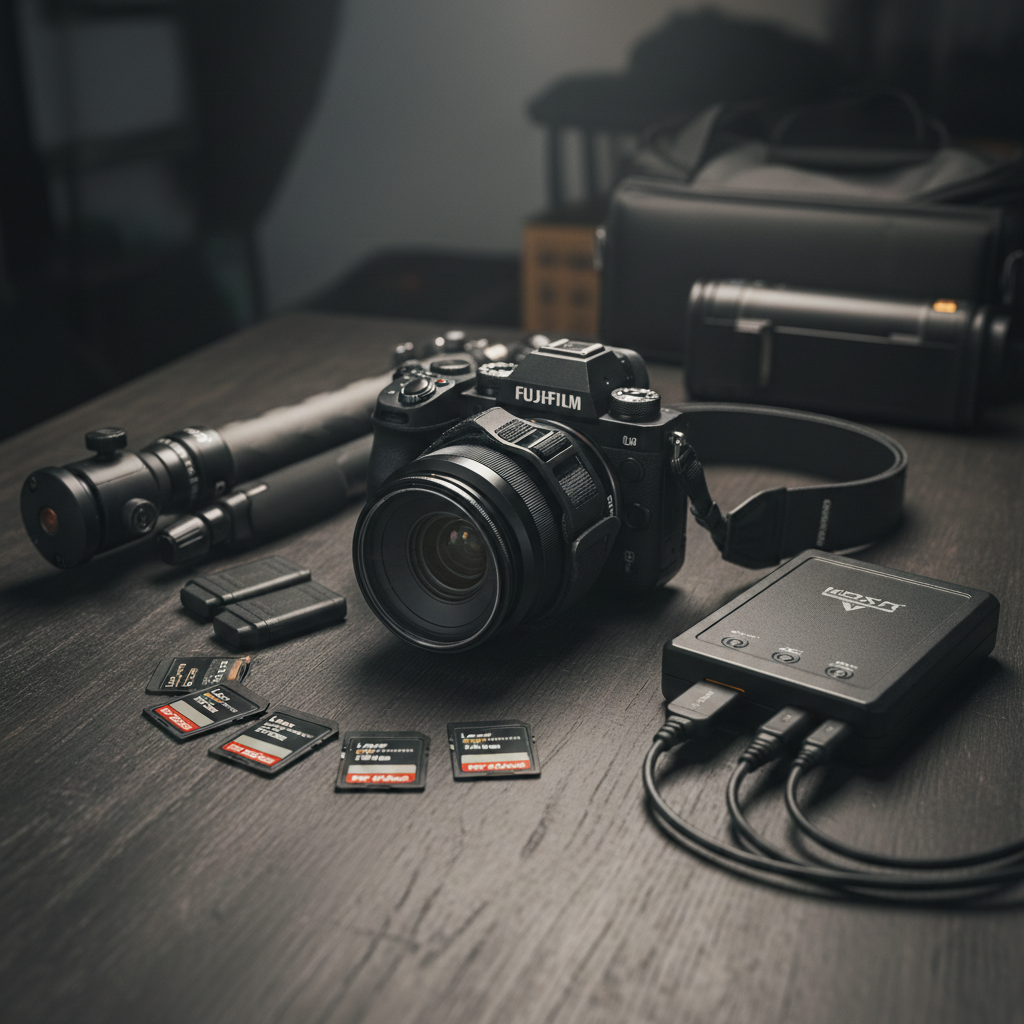
The Photographer’s Toolkit
Below is a list of gadgets I have personally tested and recommend. You will also find all the essential and must-have accessories on this page.
#1 Choosing the Right Memory Card
Technical Specifications and Speed
First and foremost, selecting the right memory card is crucial for your camera’s performance. The key factor to consider is the write speed (MB/s) — the higher this value, the more stable and efficient your camera will be. For modern digital cameras, I recommend a minimum write speed of 170 MB/s. For video recording, pay close attention to the Video Speed Class ratings: look for V30 or V60, while V90 is highly recommended for high-resolution (4K/6K) video projects.
Reliability and Redundancy
Never rely on a single memory card. Like any electronic device, cards can occasionally fail or encounter errors during a shoot, which might prevent your images from saving correctly. This is a common technical occurrence and shouldn’t be a cause for alarm. My professional advice is to always carry at least two or more cards to ensure your workflow is protected and your work remains safe.
Which Brand Should You Choose?
The market offers a wide variety of high-quality options from leading manufacturers such as SanDisk, Kingston, Sony, Samsung, ProGrade, and Angelbird.
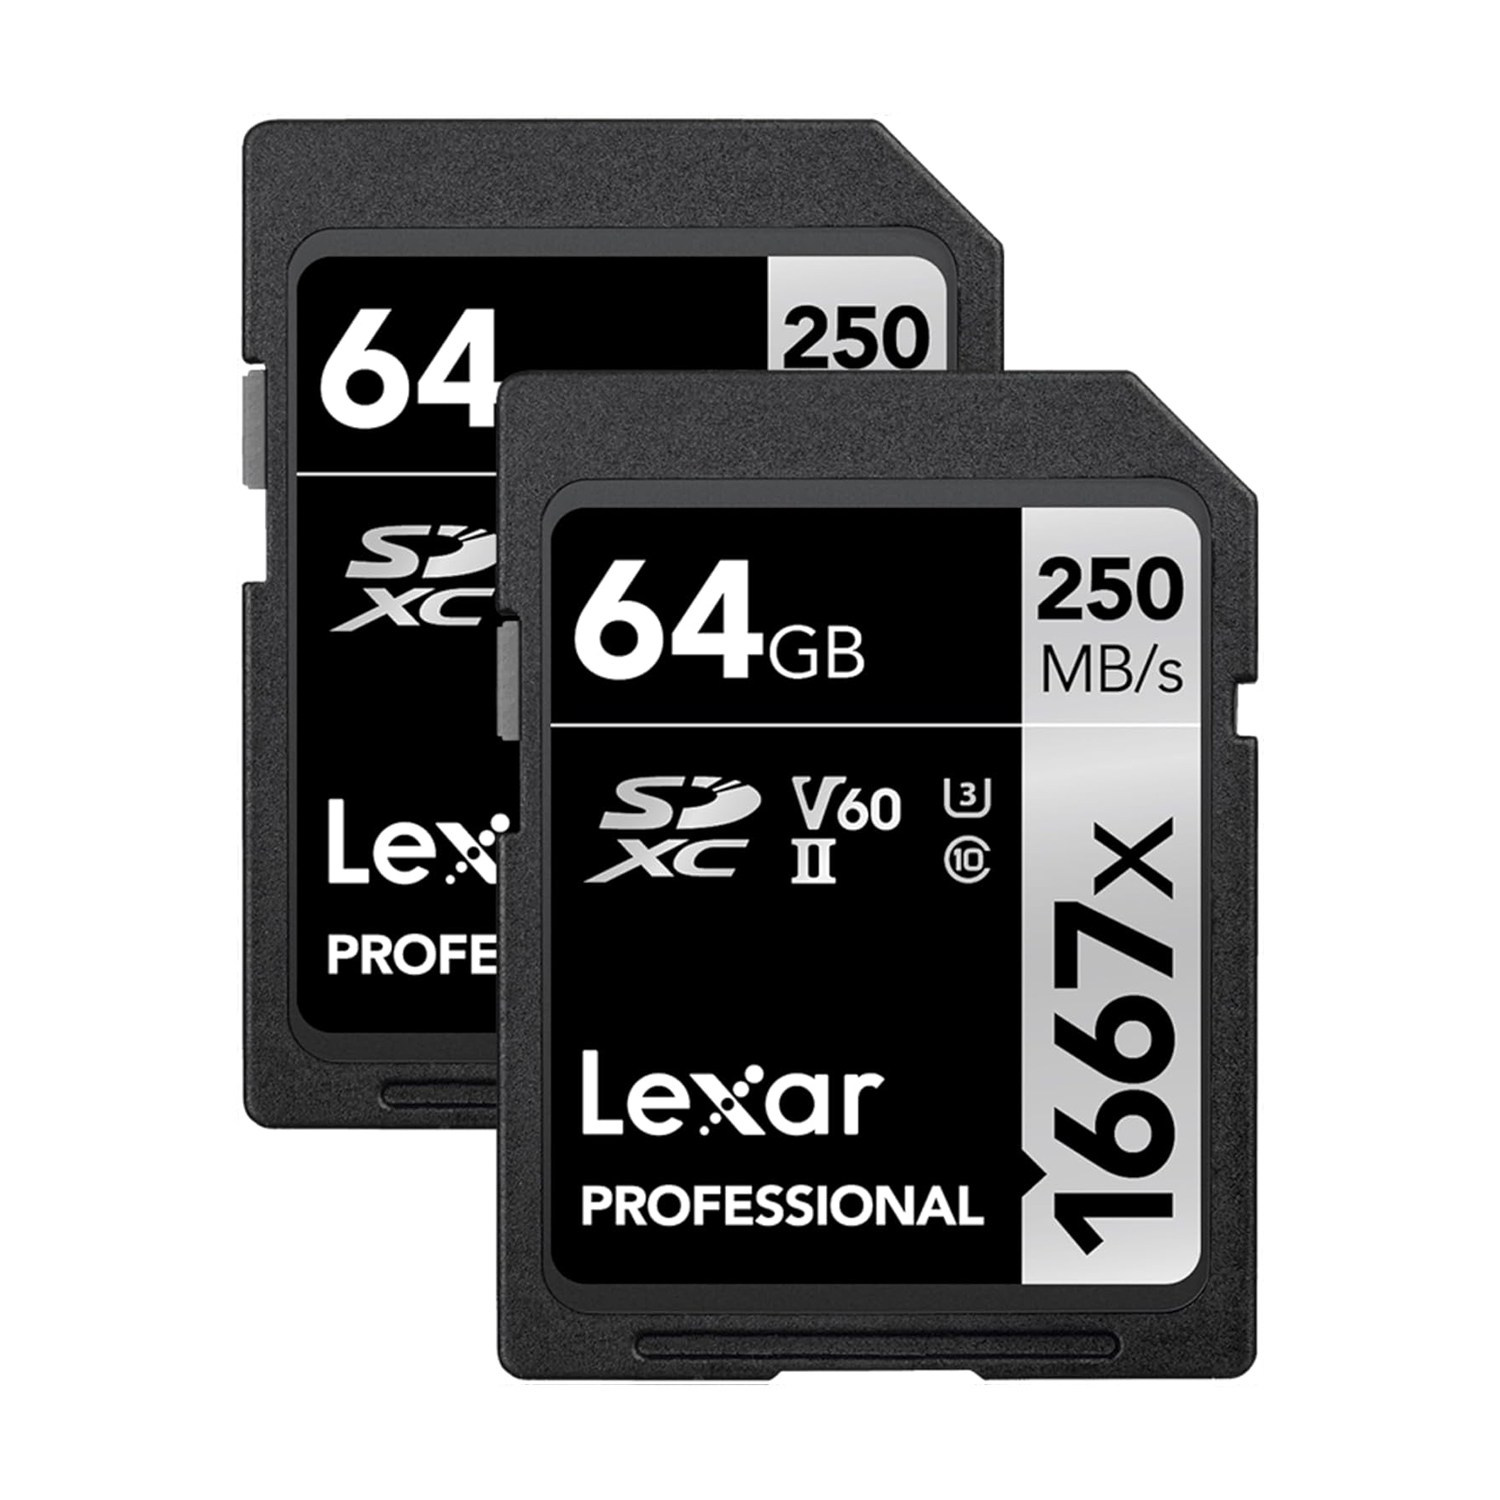
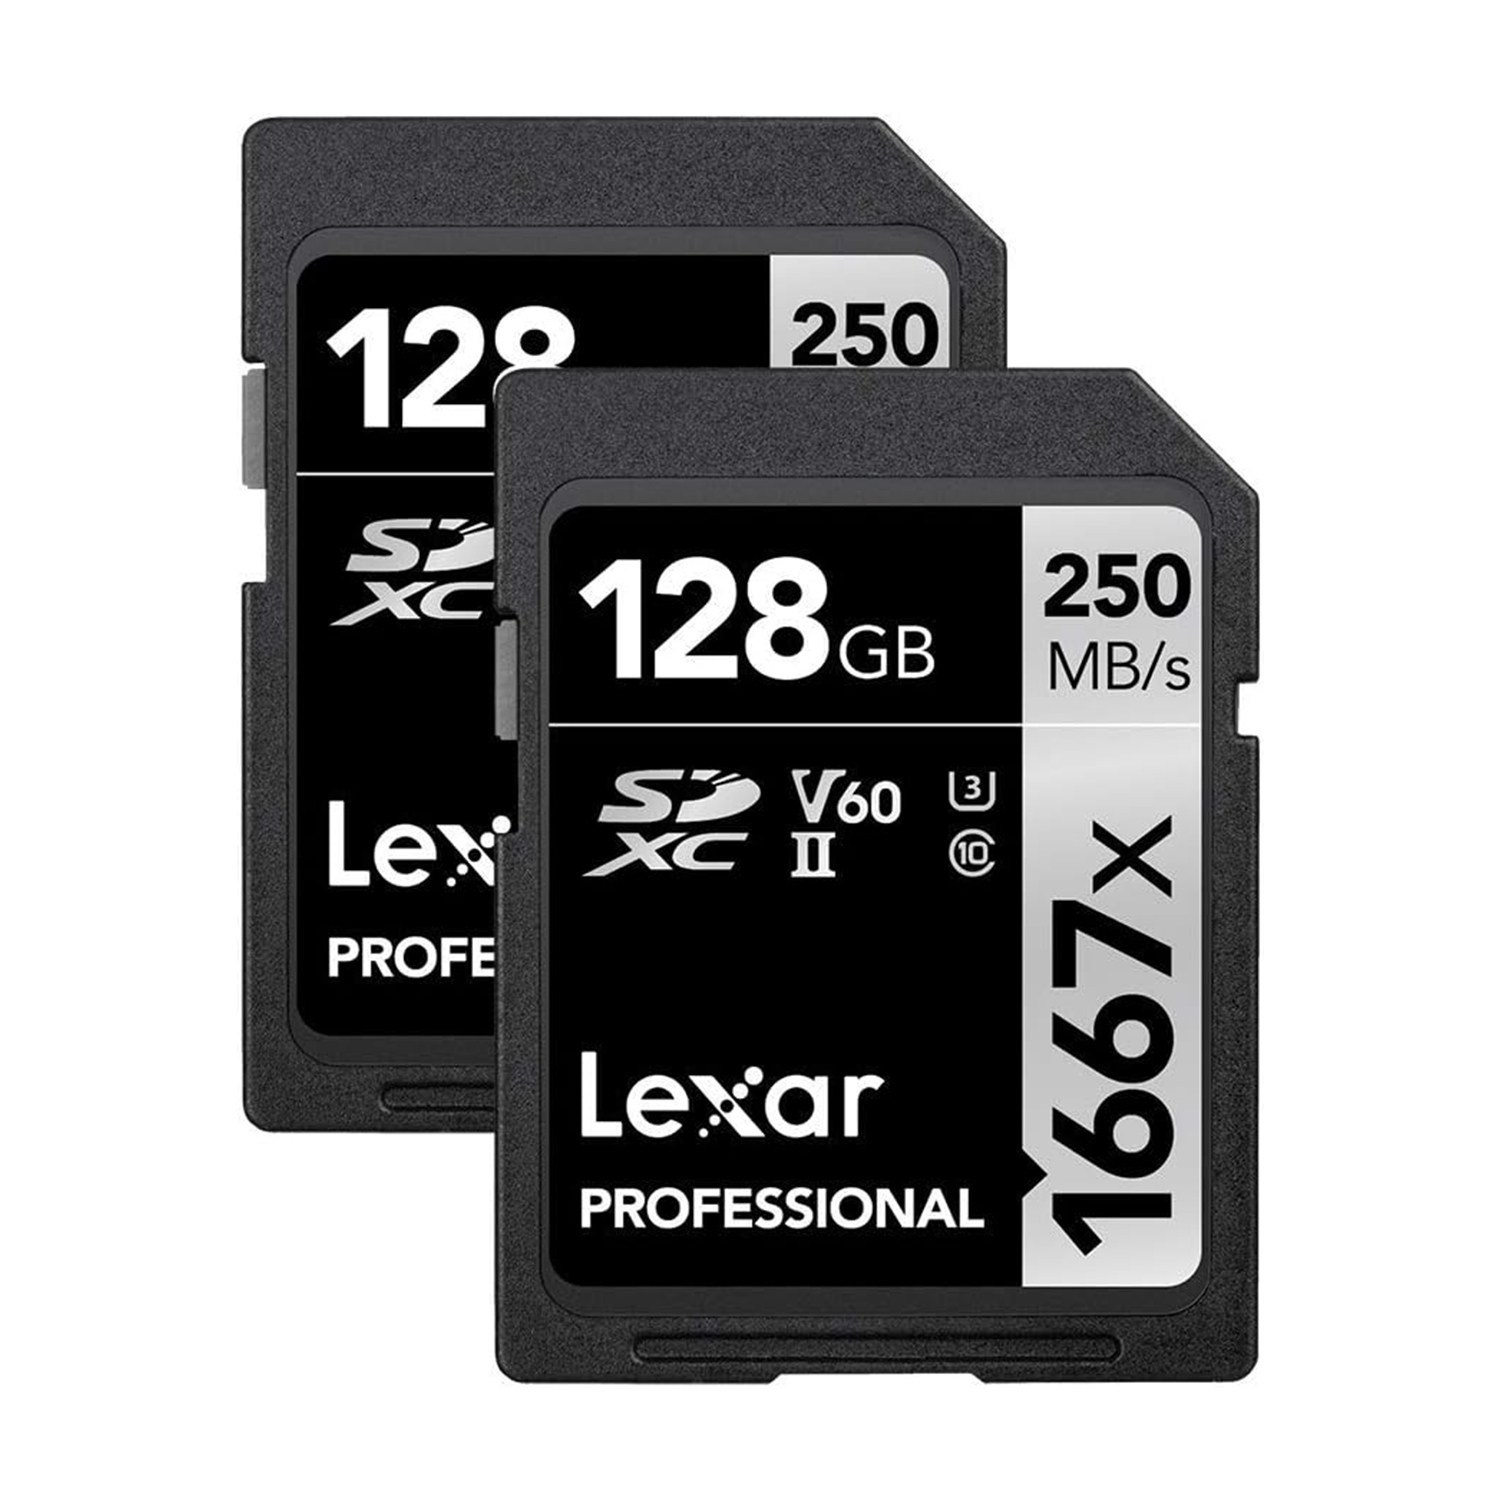
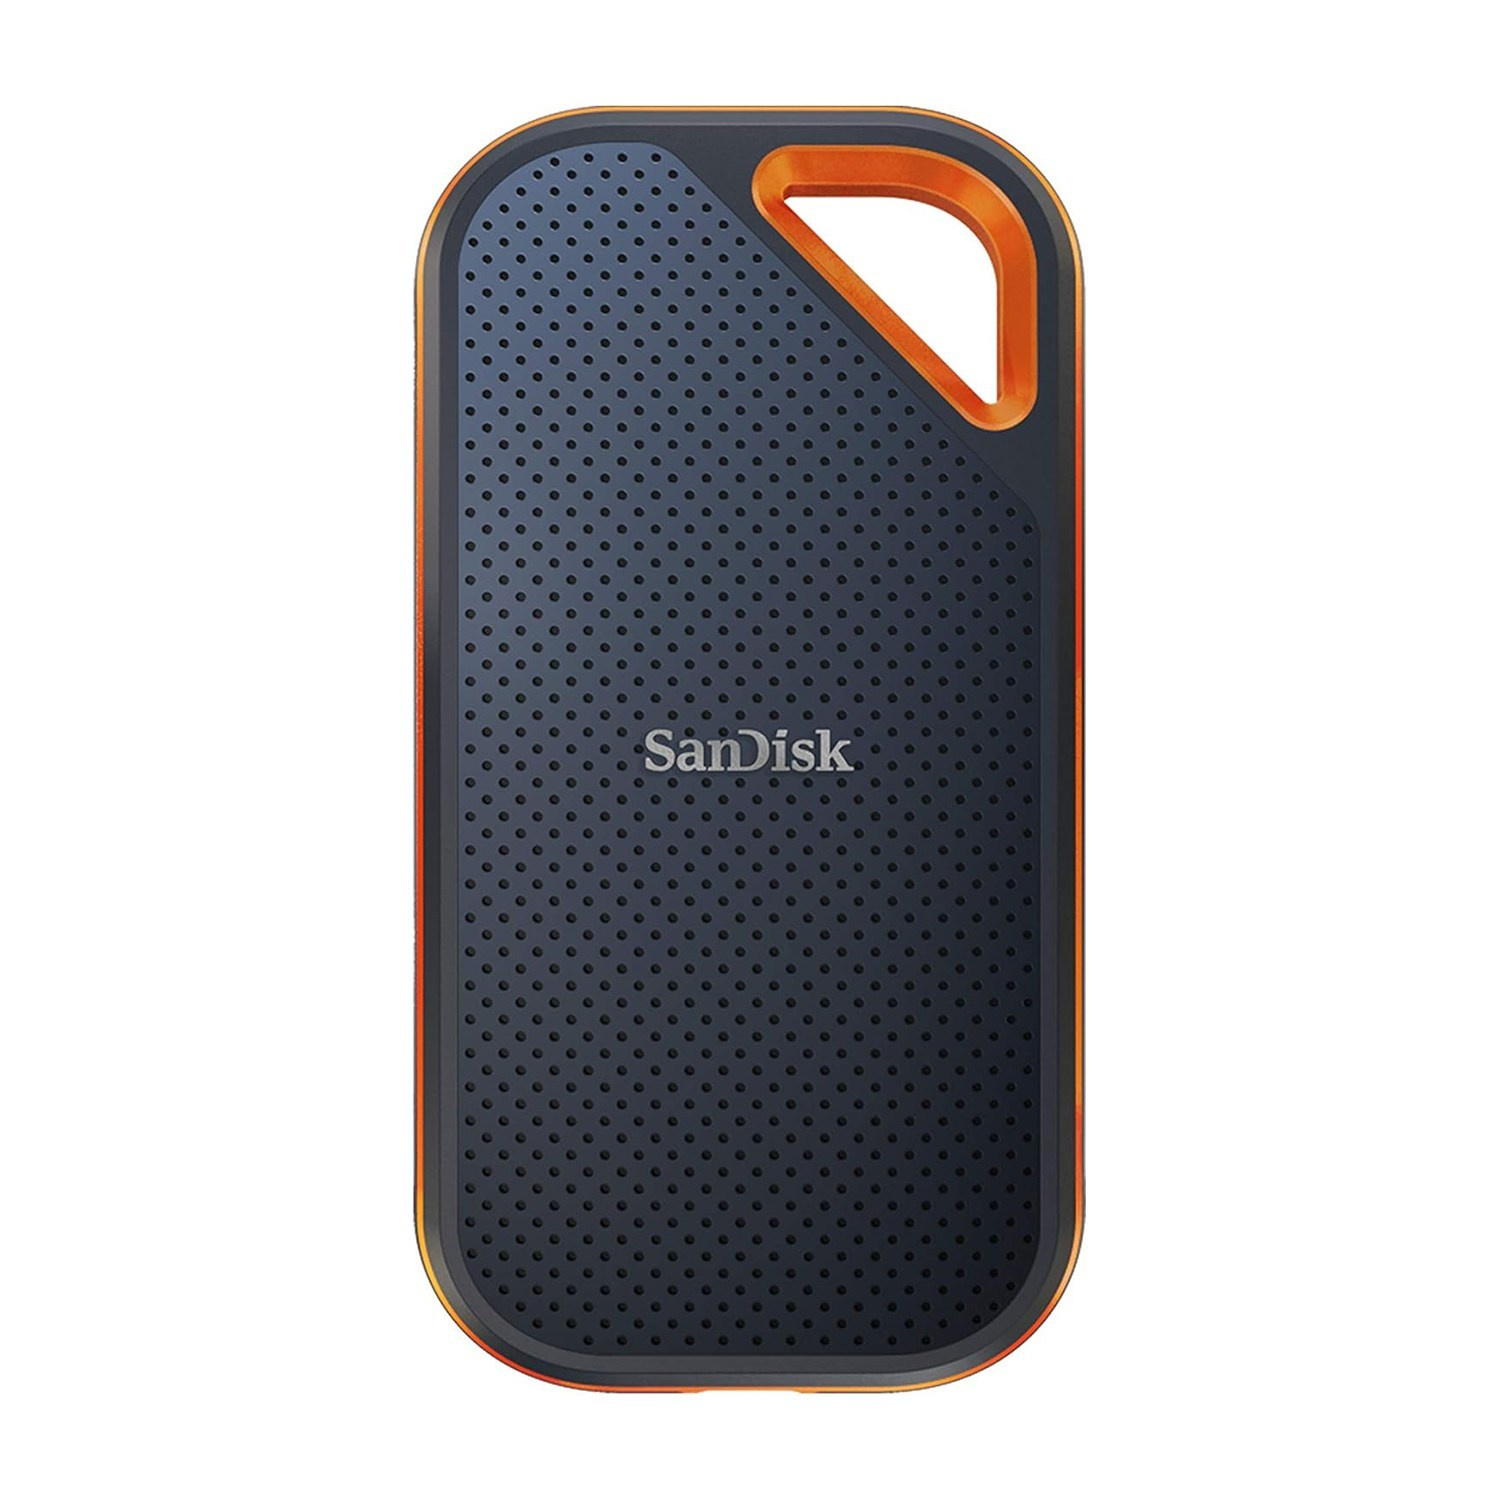
However, based on my personal experience, I highly recommend Lexar. Among all the brands I have used throughout my career, Lexar has proven to be the most consistent and reliable. It provides the peace of mind and security I need during every professional assignment.
#2 File Storage & Archiving: Choosing the Right External Drive
Why Every Photographer Needs External Storage
In the world of high-resolution JPEG, RAW files and 4K video, storage space disappears quickly. Camera original files are so massive that internal computer storage, smartphones, and even cloud services eventually reach their limits. For any photographer, having a dedicated external hard drive is essential for safely managing and archiving an ever-growing library of work.
HDD vs. SSD: Making the Professional Choice
There are two primary storage technologies, each serving a specific purpose in a photographer’s workflow:
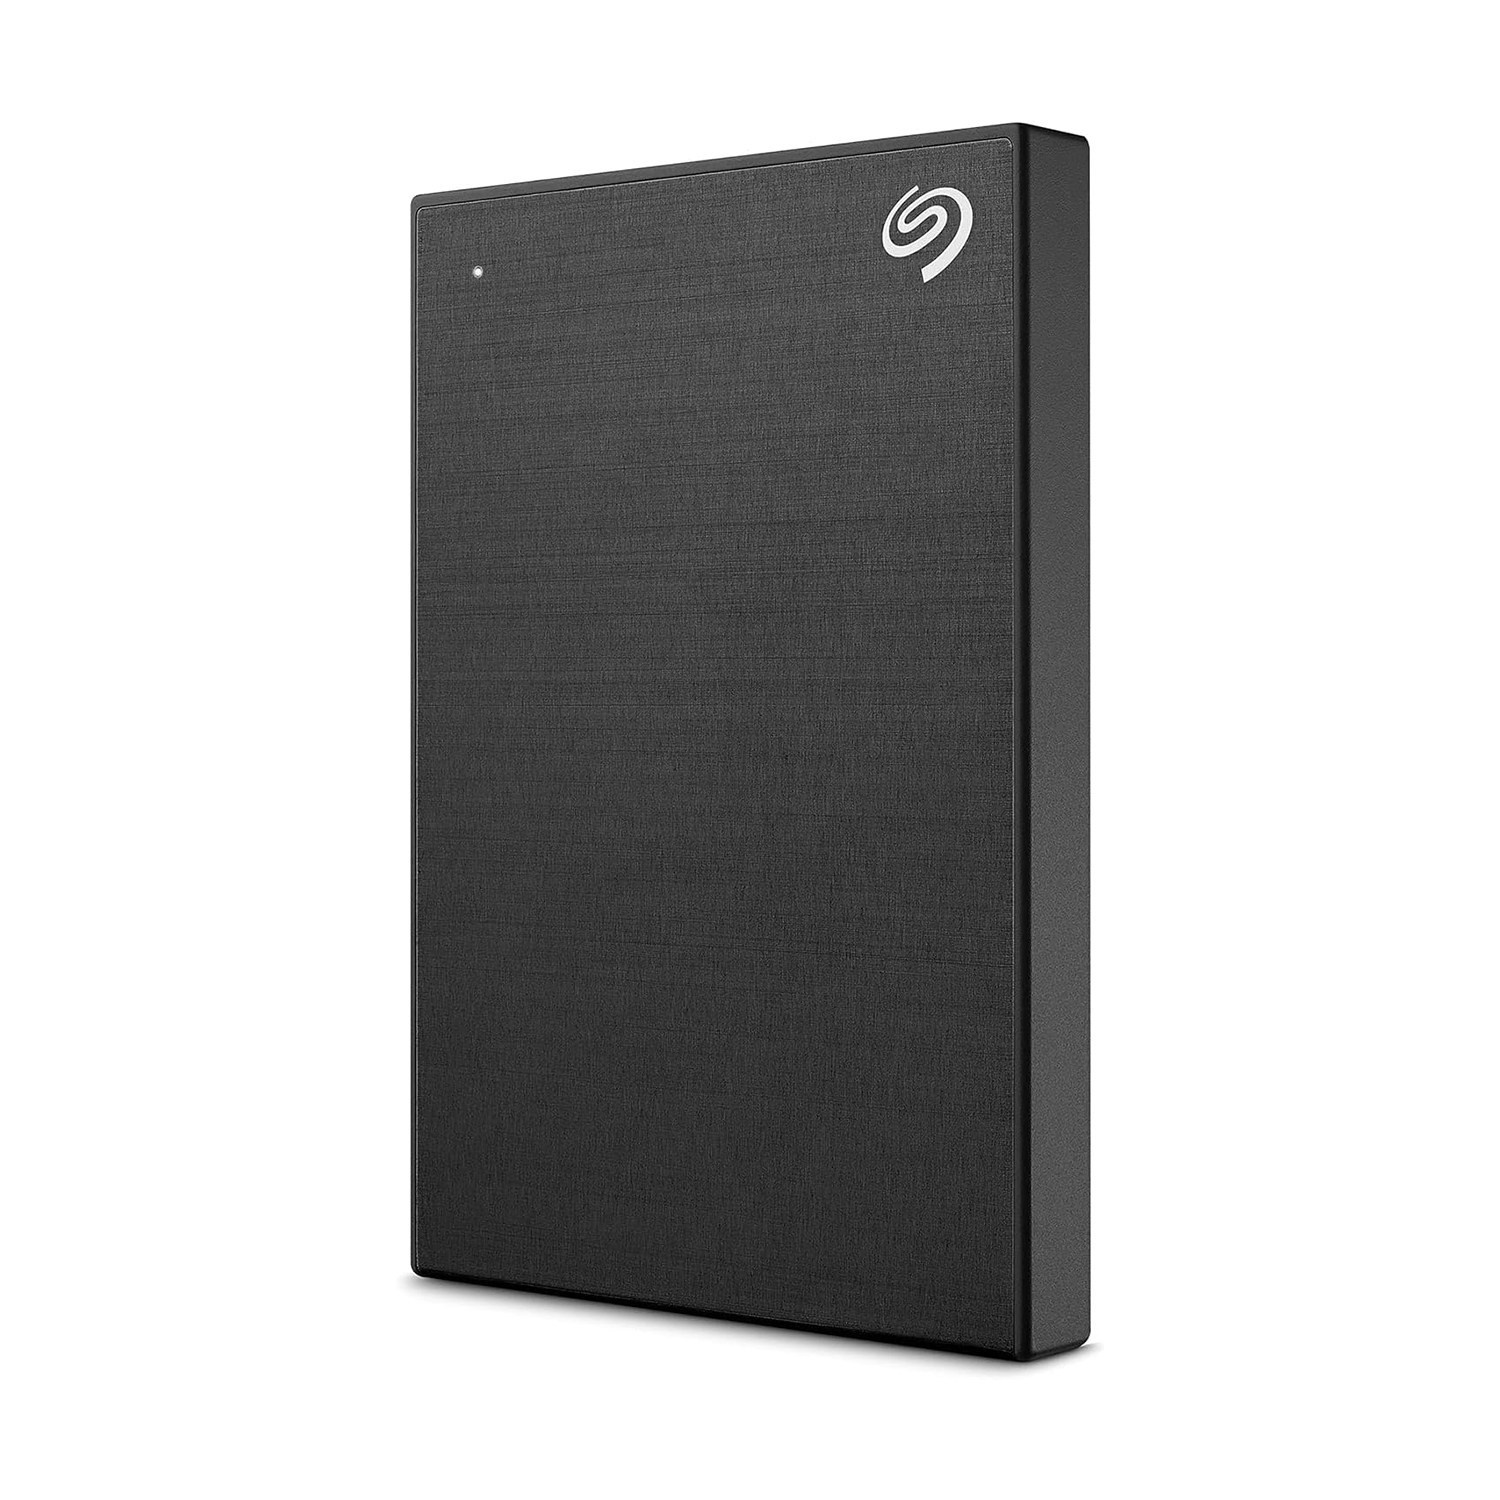
- HDD (Hard Disk Drive): These are traditional mechanical drives. While they are slower when transferring large files, their main advantage is high capacity at a lower cost. For long-term archiving, I personally purchase one or two 2TB+ HDDs per year, especially during sales. It is the most cost-effective way to store vast amounts of data. Based on my experience, Seagate and Western Digital (WD) are the most reliable brands in this category.
- SSD (Solid State Drive): These are modern, significantly faster, and more compact. Transferring files or editing directly from an SSD happens in seconds. Although they are more expensive than HDDs, they are a vital investment for your active Editing Workflow, saving you time and offering superior portability.
Pro Tip: The Backup Strategy
Never rely on a single drive for your irreplaceable work. The best practice is to ensure your data is duplicated across at least two different physical drives. My personal strategy is simple: Use an SSD for fast, active editing, and an HDD for secure, long-term archiving. This approach guarantees both professional speed and the long-term safety of your creative work.
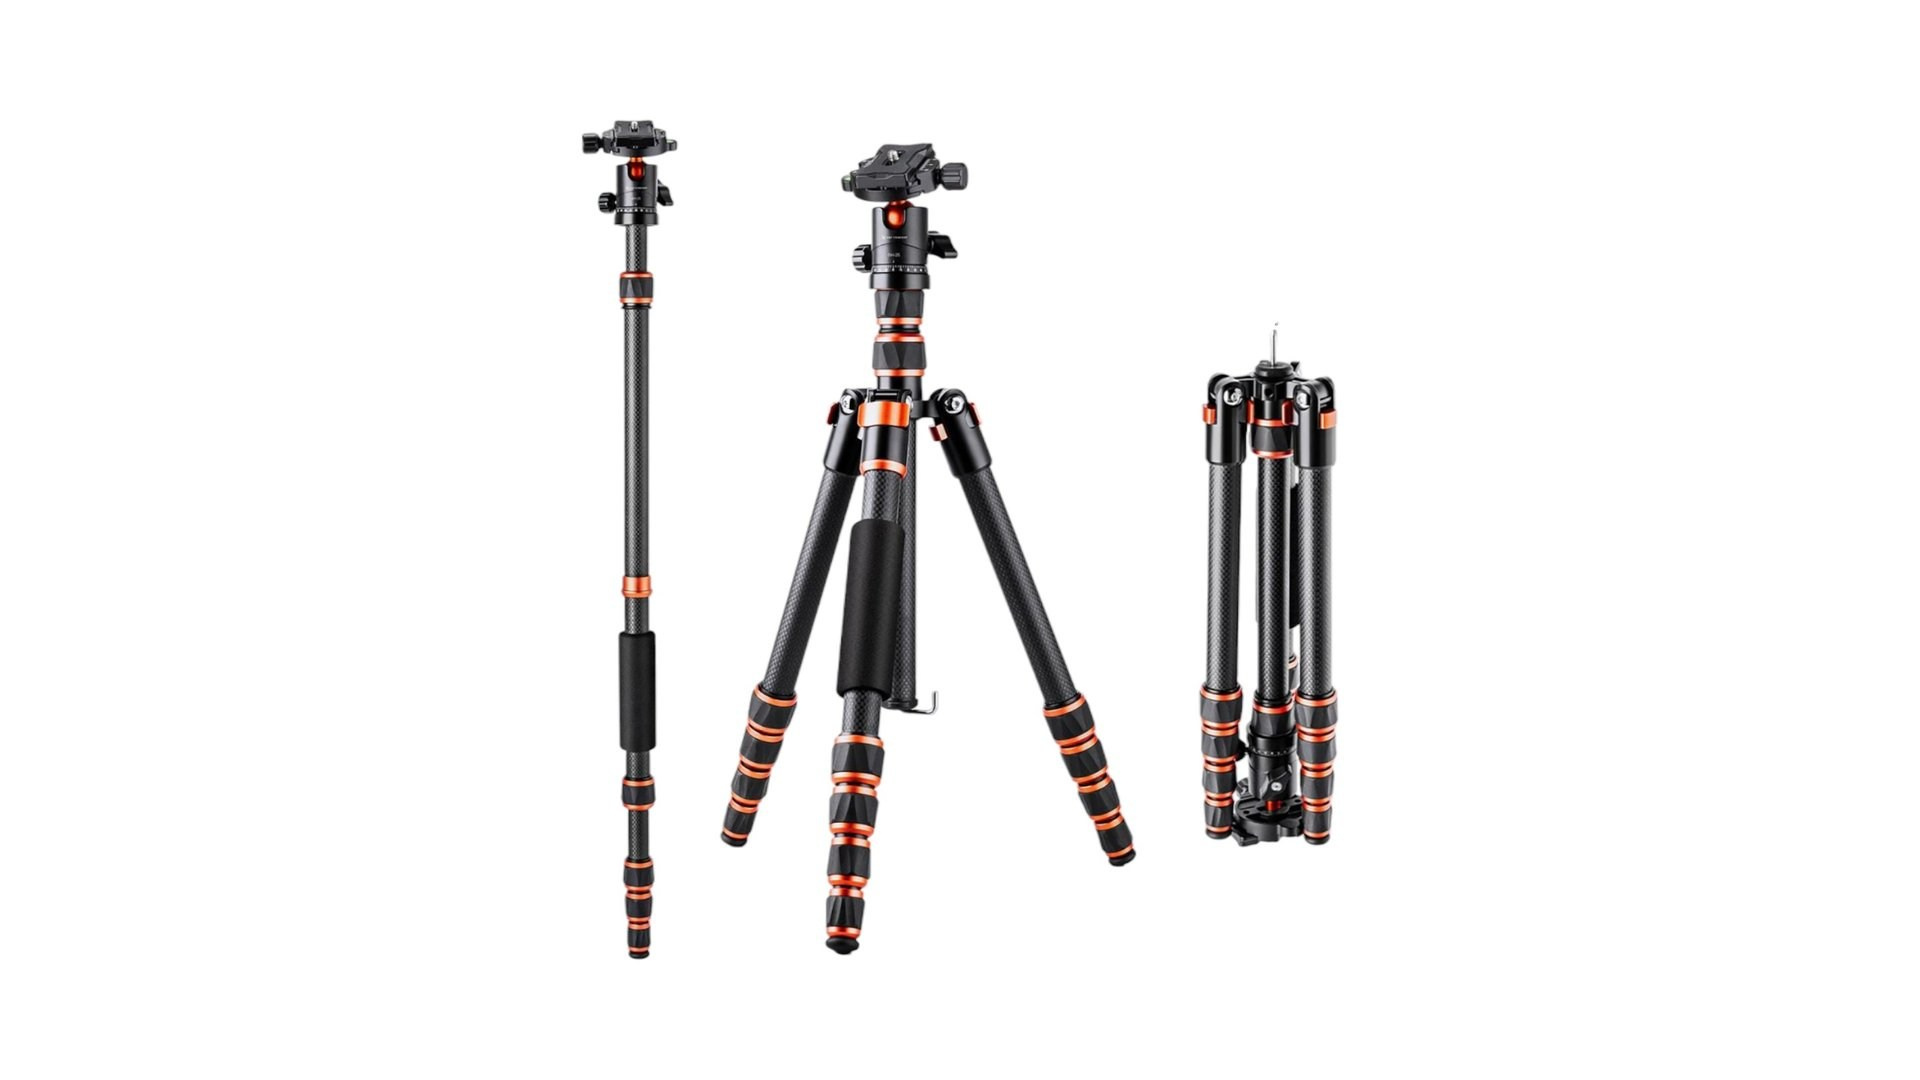
#3 Choosing the Right Tripod: Stability for Your Creative Vision
A tripod is one of the most important tools for a photographer, but choosing one is often difficult because different situations require different models.
Why Every Photographer Needs a Tripod
A tripod is essential not just for long exposures, but for maintaining absolute precision in your composition. From static landscapes to dynamic video and commercial food photography, the right support system is the foundation of a professional image.
Tripod Types and Specialized Heads:
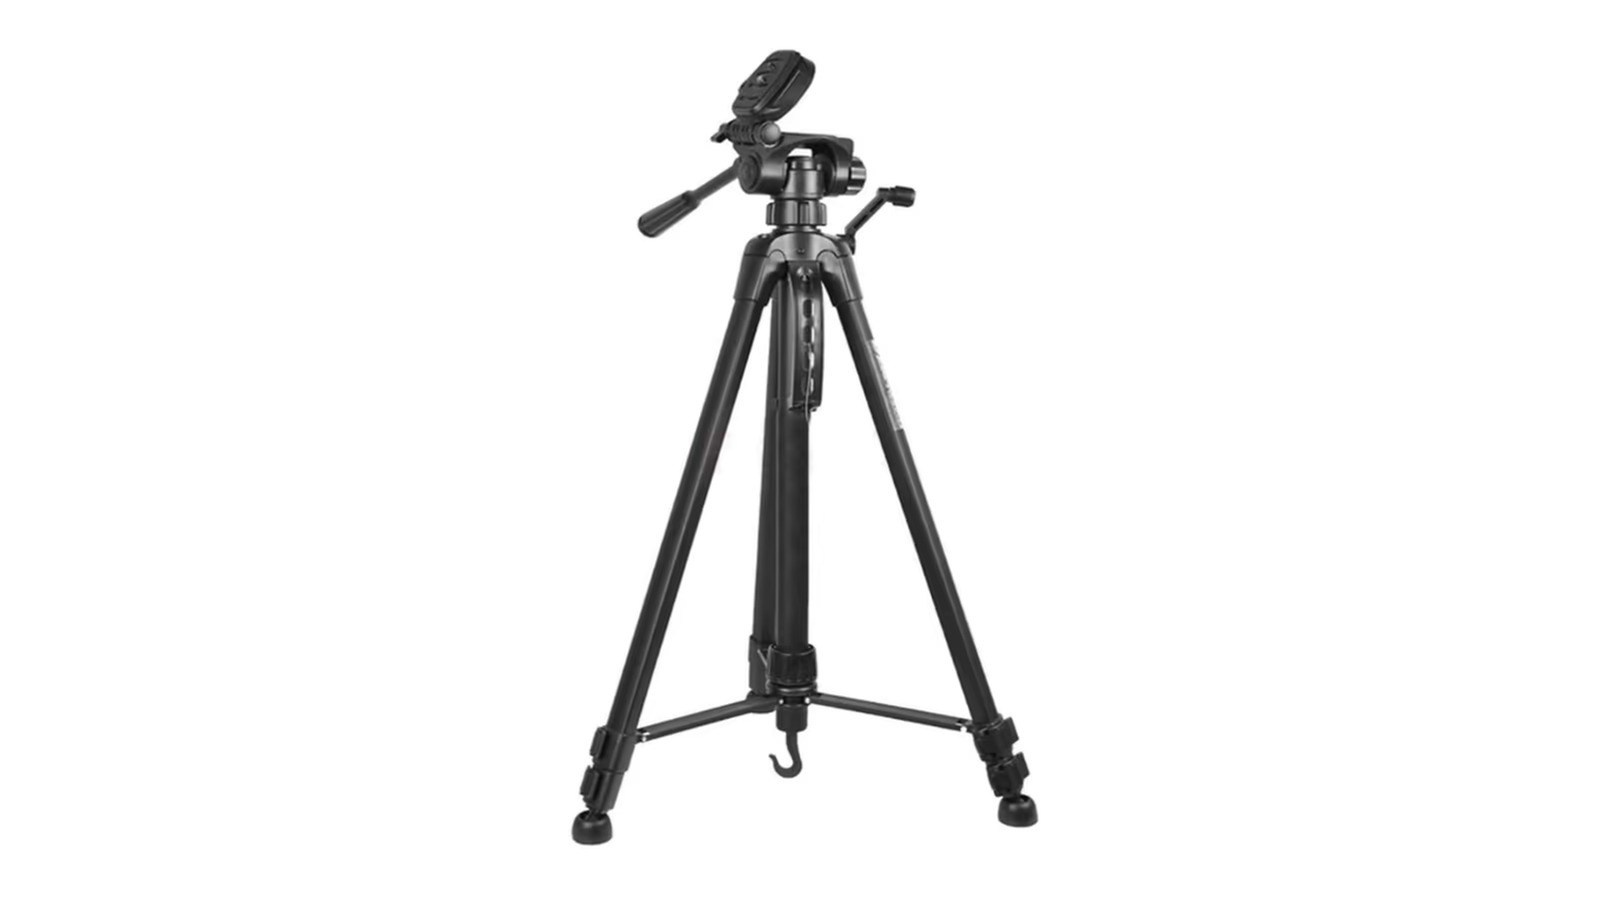
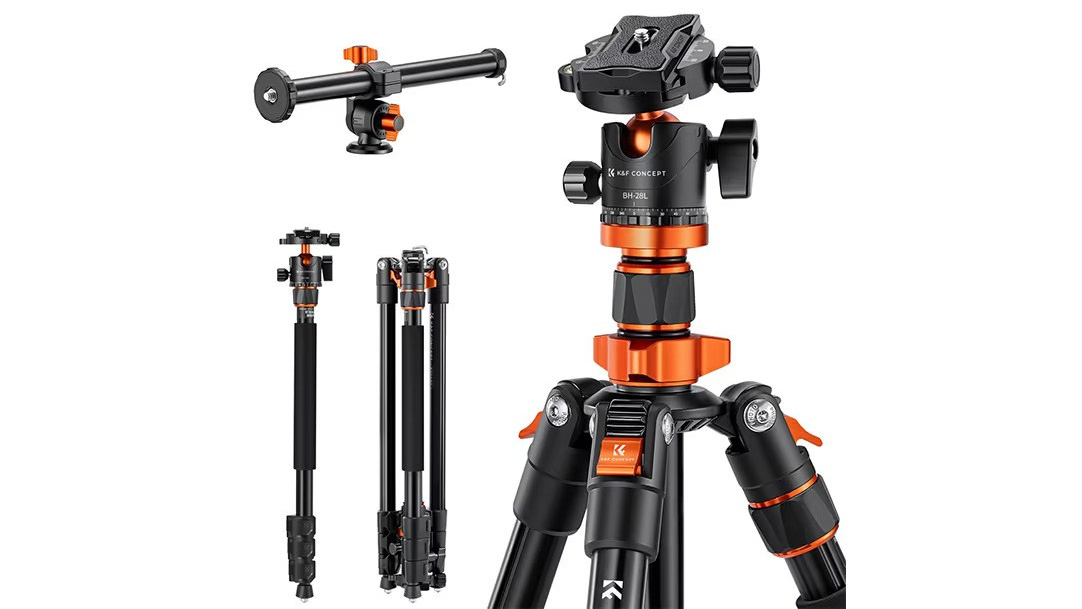
1. Static Photography Tripods (Ball Head): Most standard and travel tripods come with a Ball Head, allowing for quick adjustments and locking the camera at any angle.
- Best For: Portraits, landscapes, and architecture where the shot remains still.
2. Video Tripods (Fluid Head): For filmmaking, a Fluid Head is mandatory. It uses a hydraulic system to ensure ultra-smooth, dampened movement during pans and tilts, eliminating jitters and jumps.
- Best For: Any video production requiring smooth, cinematic camera movements.
3. Overhead & Commercial Photography (Horizontal Column): For “Flat-lay” or food photography, you need a tripod with a 90-degree horizontal center column. This allows the camera to hang directly over the subject, capturing a perfect top-down view without the tripod legs appearing in the frame.
- Best For: Product photography, culinary videos, and unboxing content.
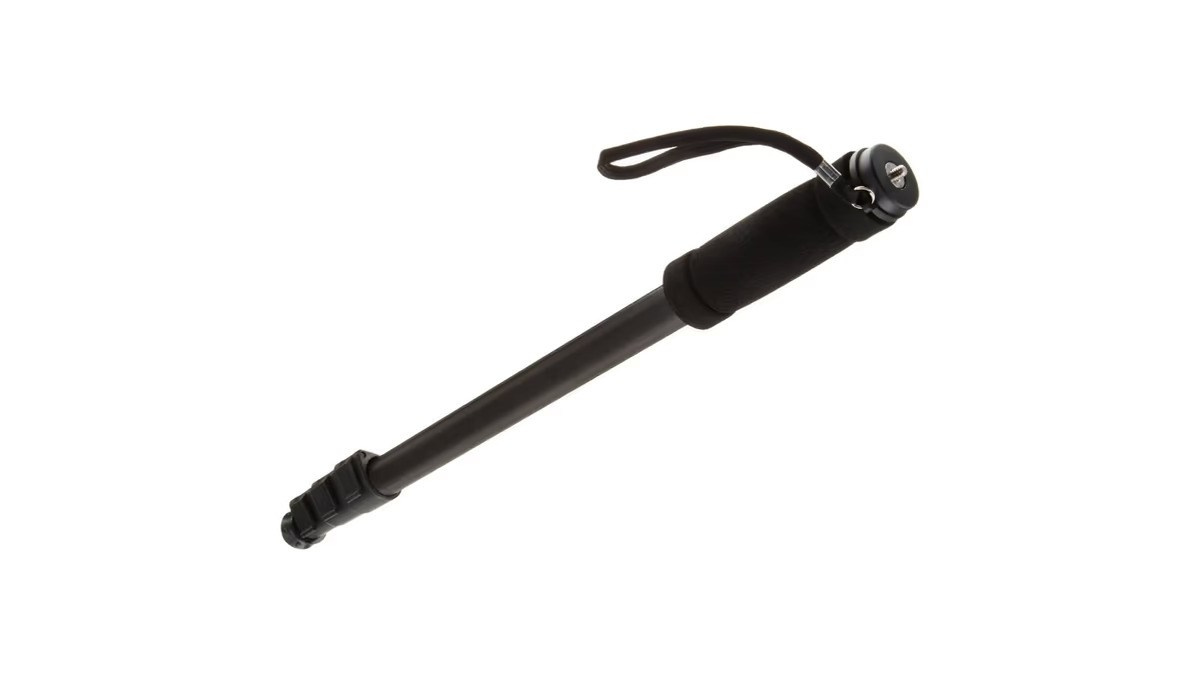
4. Monopods & Mini Tripods: Monopods offer stability with maximum mobility (great for sports), while mini tripods (like the GorillaPod) are perfect for vlogging and low-angle creative shots.
Material Choice: Aluminum vs. Carbon Fiber
- Aluminum: Durable and cost-effective, but can be heavy for long days on location.
- Carbon Fiber: The premium choice—significantly lighter and superior at absorbing vibrations, making it ideal for professionals on the move.
#4 The Art of Lighting: My Essential Gear Guide
In photography, light is everything. Although my personal style relies heavily on natural light, artificial lighting is an essential tool for “filling in” shadows, adding highlights, or introducing creative colors to a scene.
Flash vs. Continuous Lighting
The choice depends on your goal: Flash (Strobe) is indispensable for freezing motion and ensuring sharpness, while Continuous (LED) light is superior for video and for “what you see is what you get” photography, allowing you to observe shadows in real-time.
Remote Triggers and Flexibility
To keep the camera lightweight and gain more control over light direction, I use Radio Triggers. These devices sit on the camera’s hot shoe and remotely fire lights placed away from the subject. This technique allows for more natural, dimensional lighting setups without bulky equipment on the camera itself.
Gear I Personally Use & Recommend:
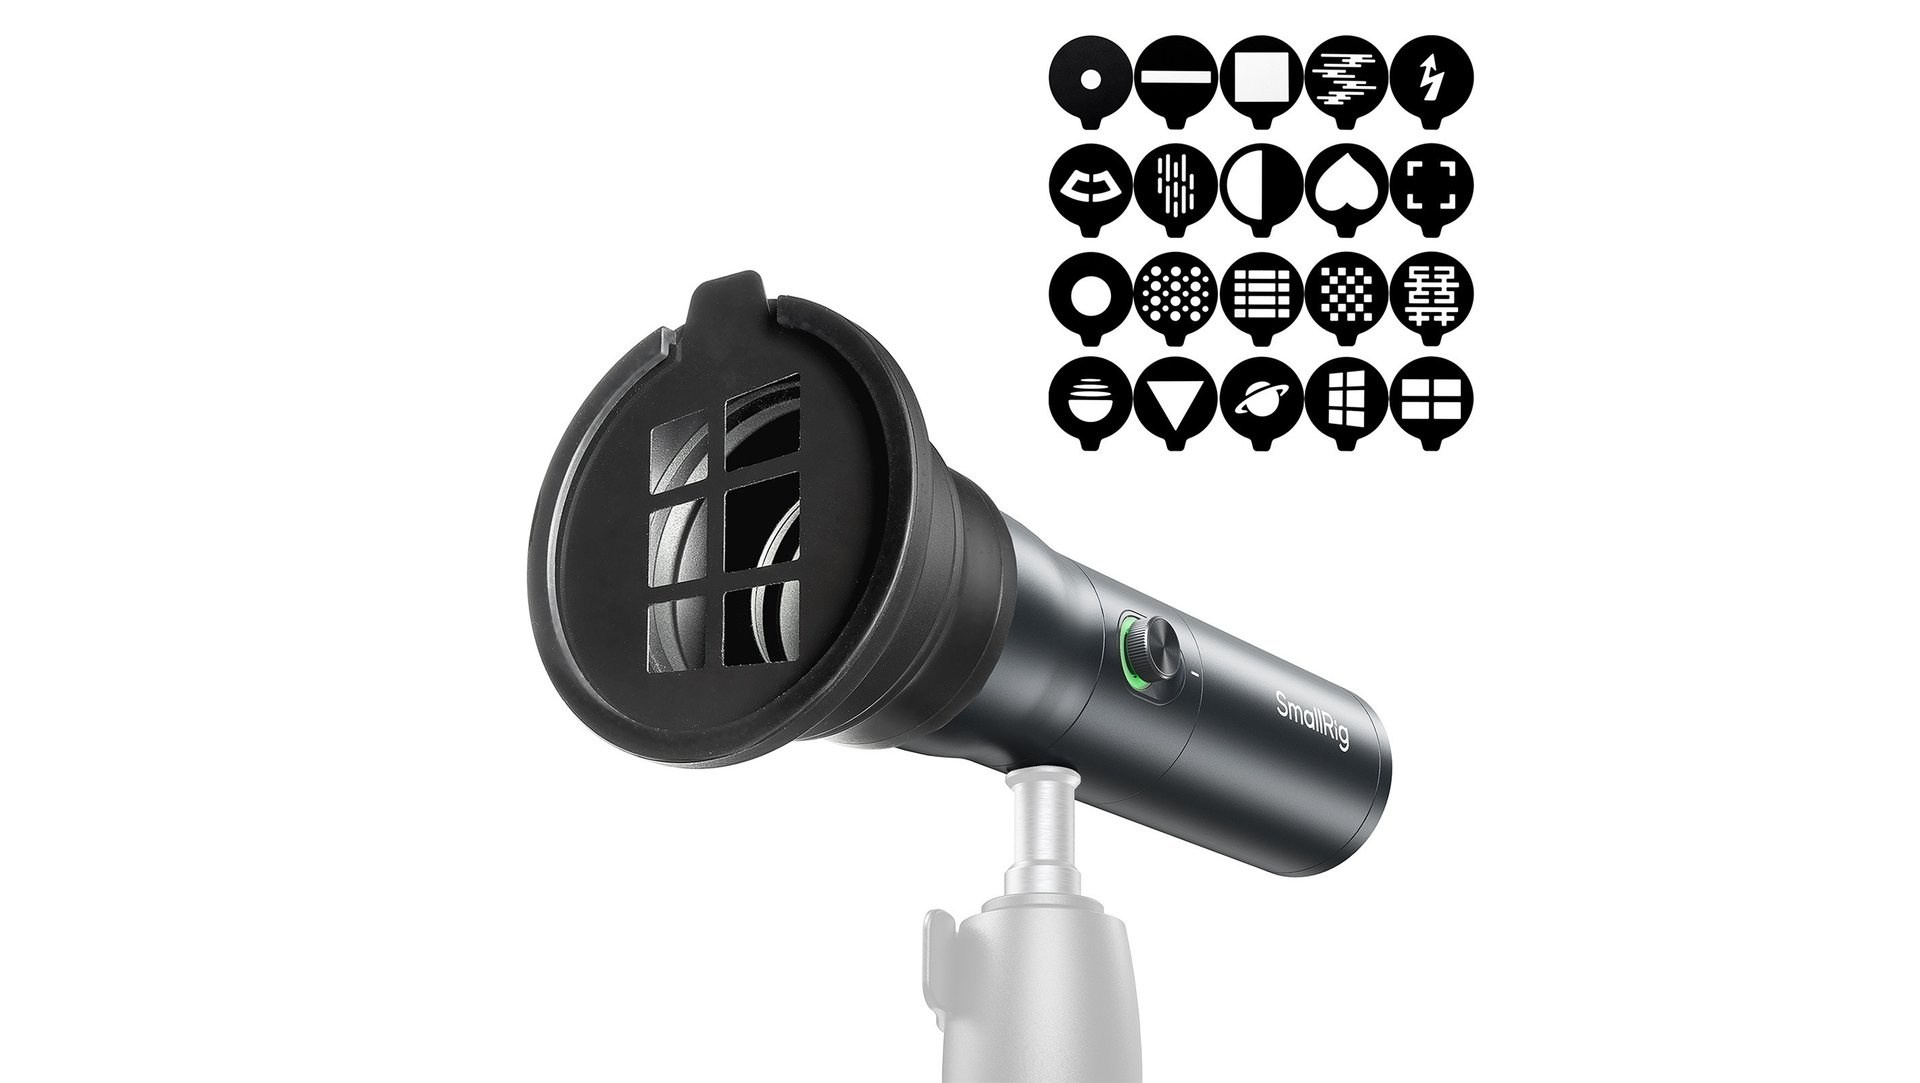
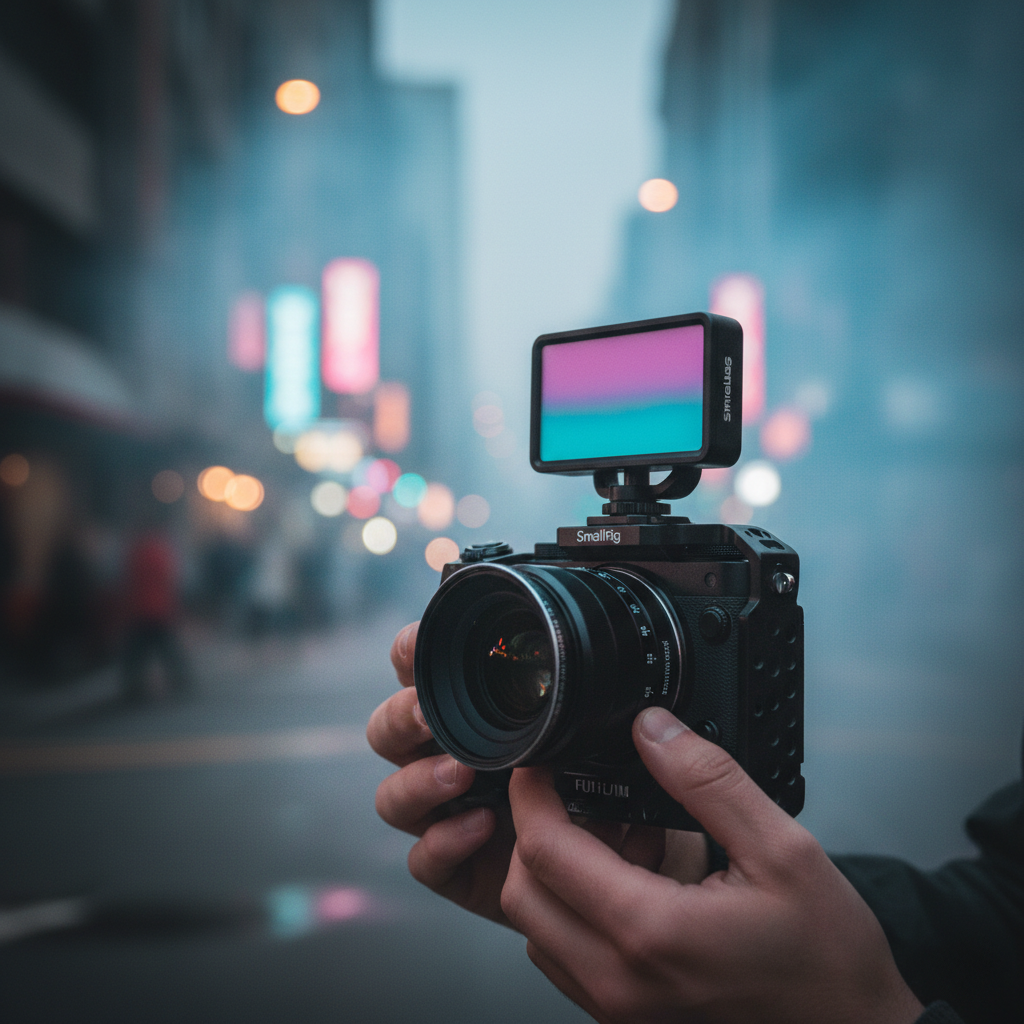
1. SmallRig RF 10 °C Portable Focusable LED (4634)
This is my standout favorite in my lighting kit.
- Highlights: Extremely compact with a focusable beam, allowing you to switch between a wide flood and a narrow spotlight.
- Usage: It’s perfect for adding subtle accents in portraits. Its portability makes it easy to carry and deploy whenever natural light needs a little boost.
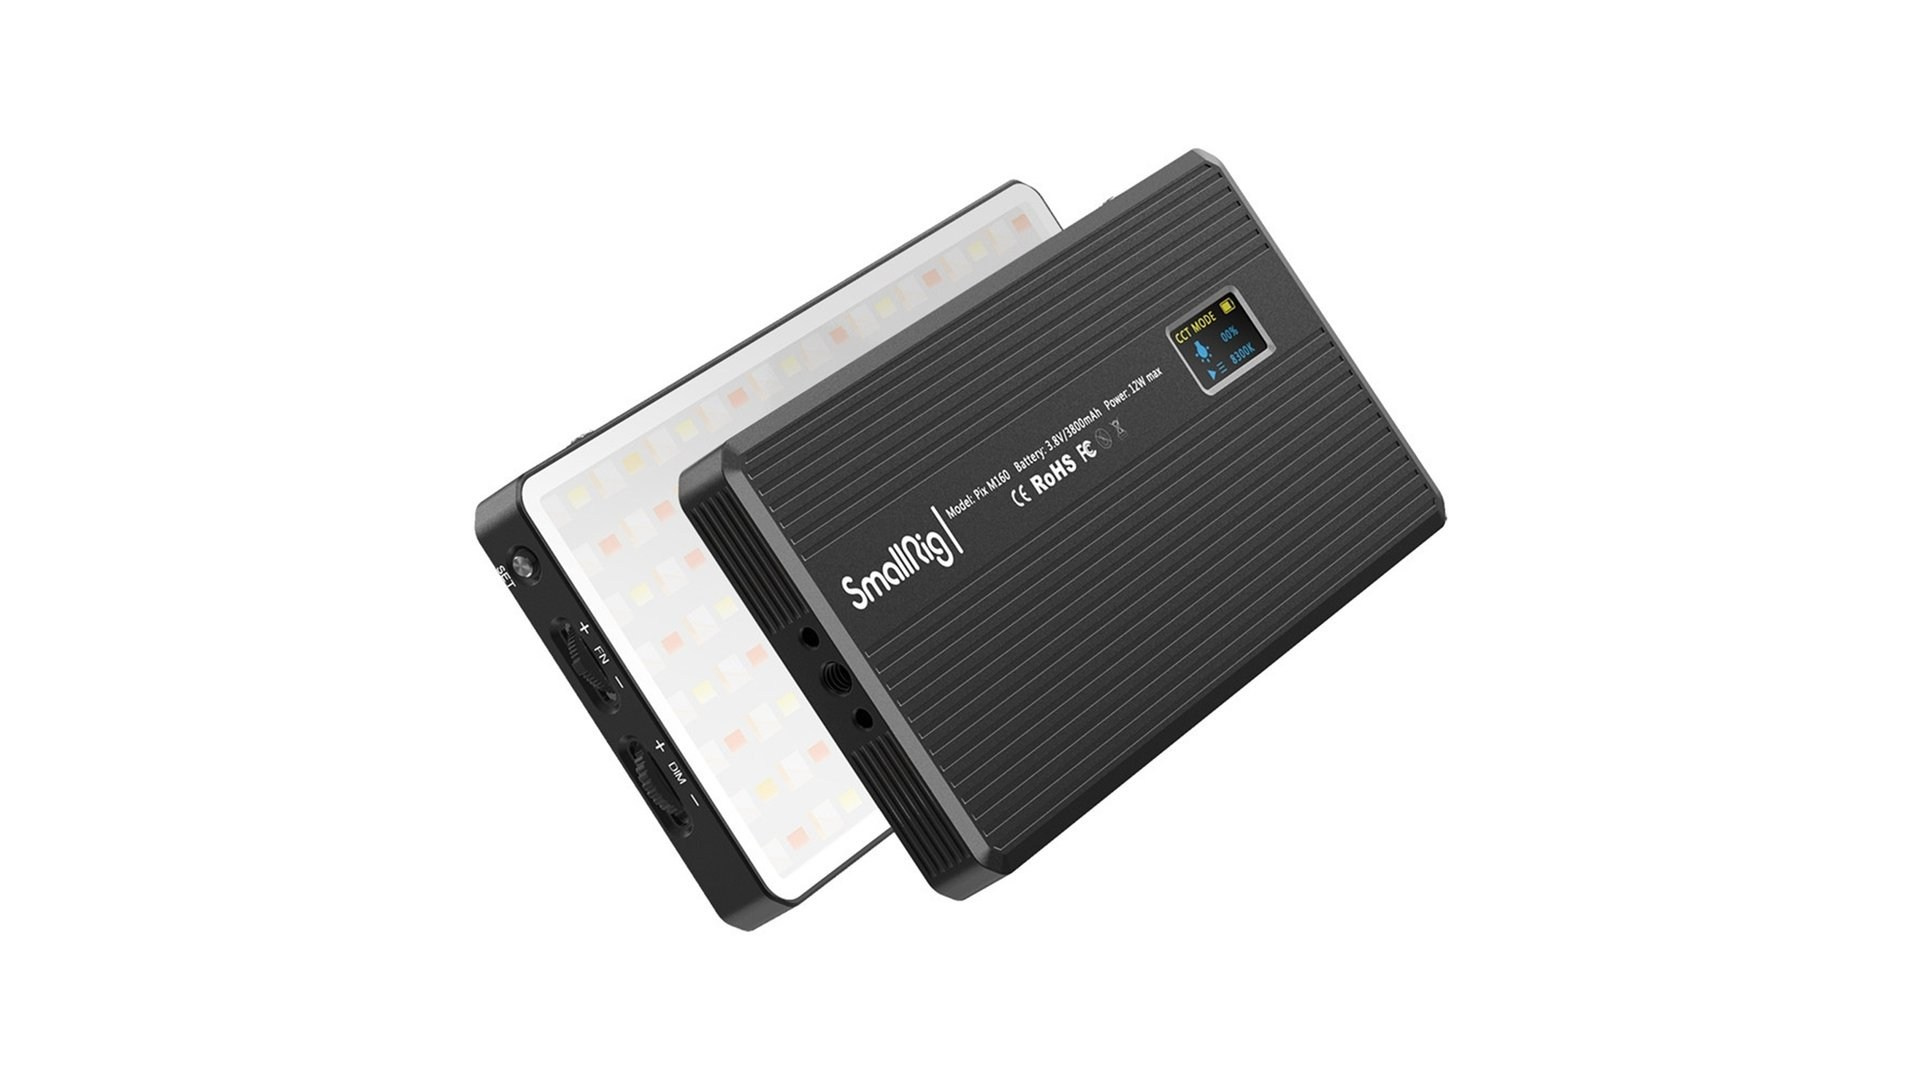
2. SmallRig Pix M160 RGBWW LED (3157)
The ultimate tool for creative atmosphere.
- Highlights: Full RGB spectrum with millions of color options. It also doubles as a power bank.
- Usage: I use this primarily for background coloring or adding creative color pops to a frame. Its versatility makes it a must-have for artistic shoots.
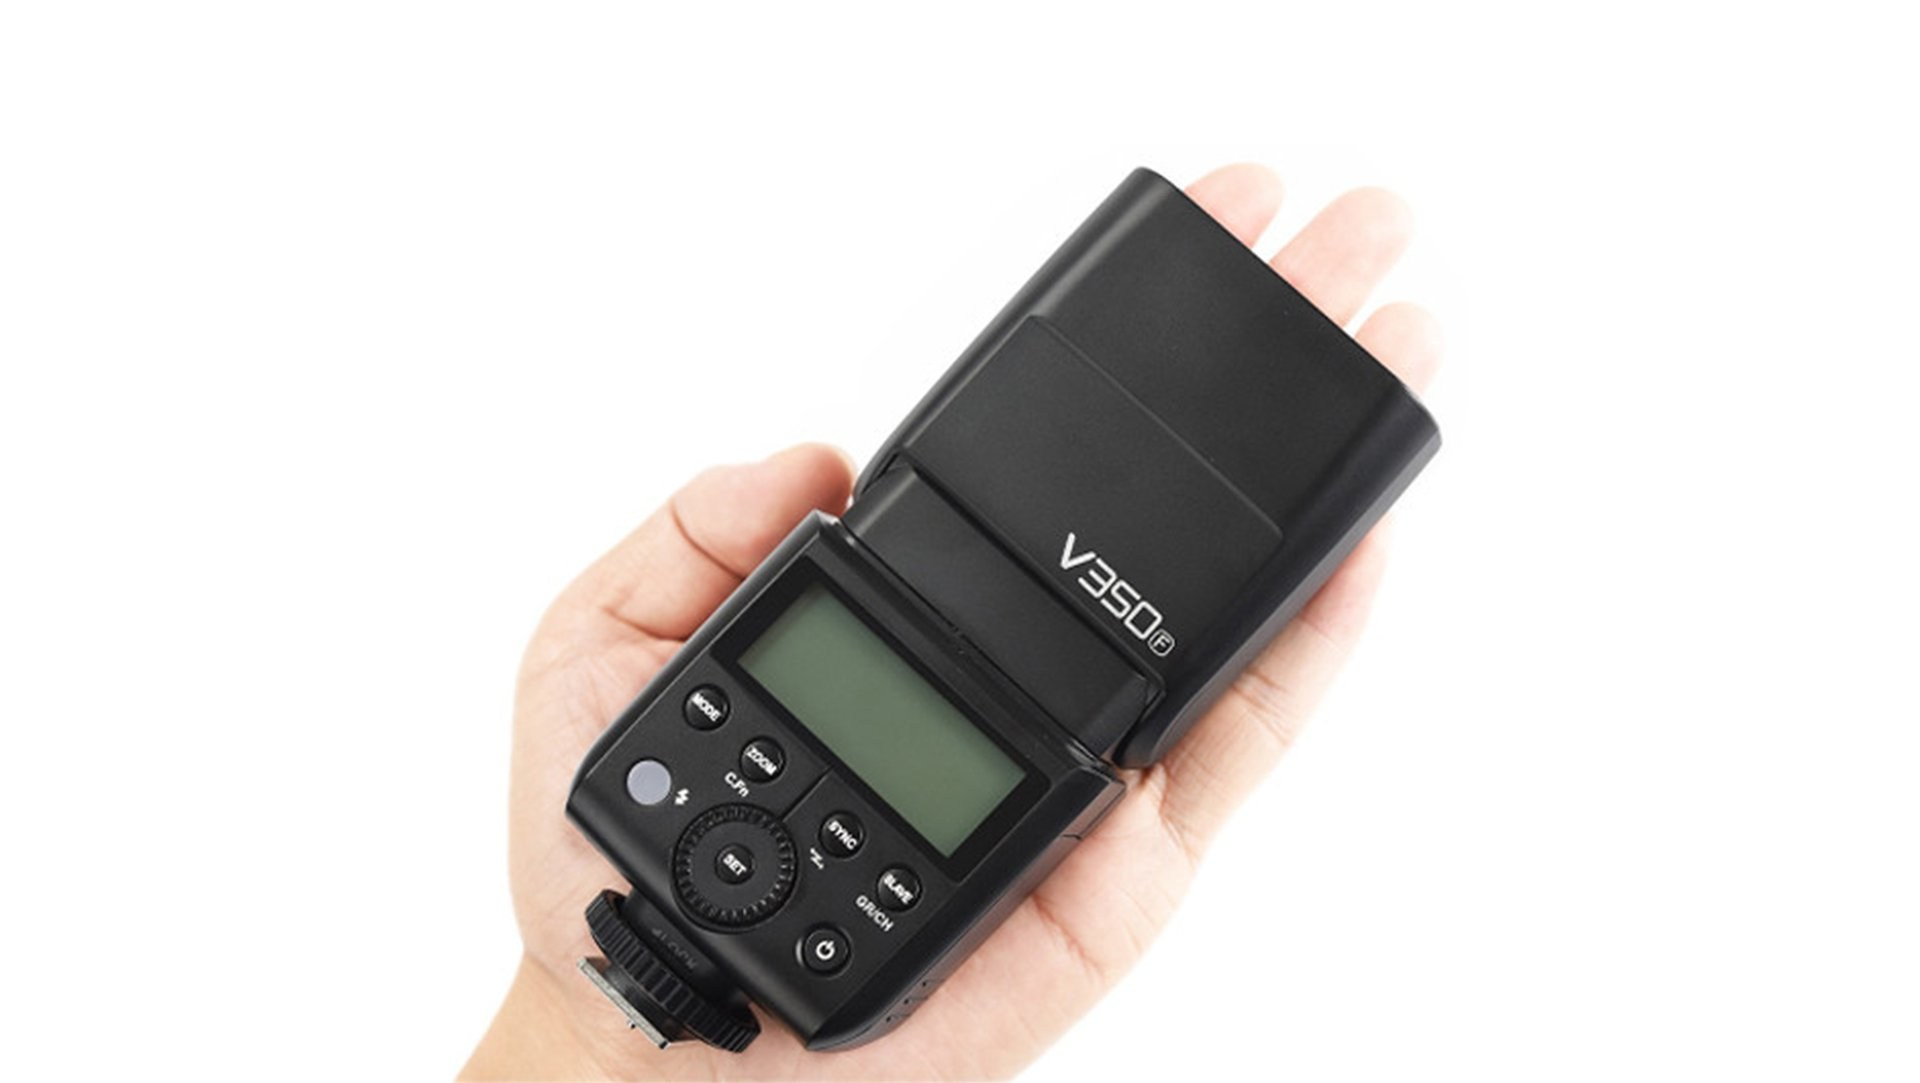
3. Godox V350-F (For Fujifilm)
A compact flash that perfectly complements the lightweight Fujifilm system.
- Highlights: Small form factor, fast recycle time, and full TTL support.
- Usage: Best for lifestyle and reportage photography where mobility is key and you want to avoid a top-heavy camera setup.
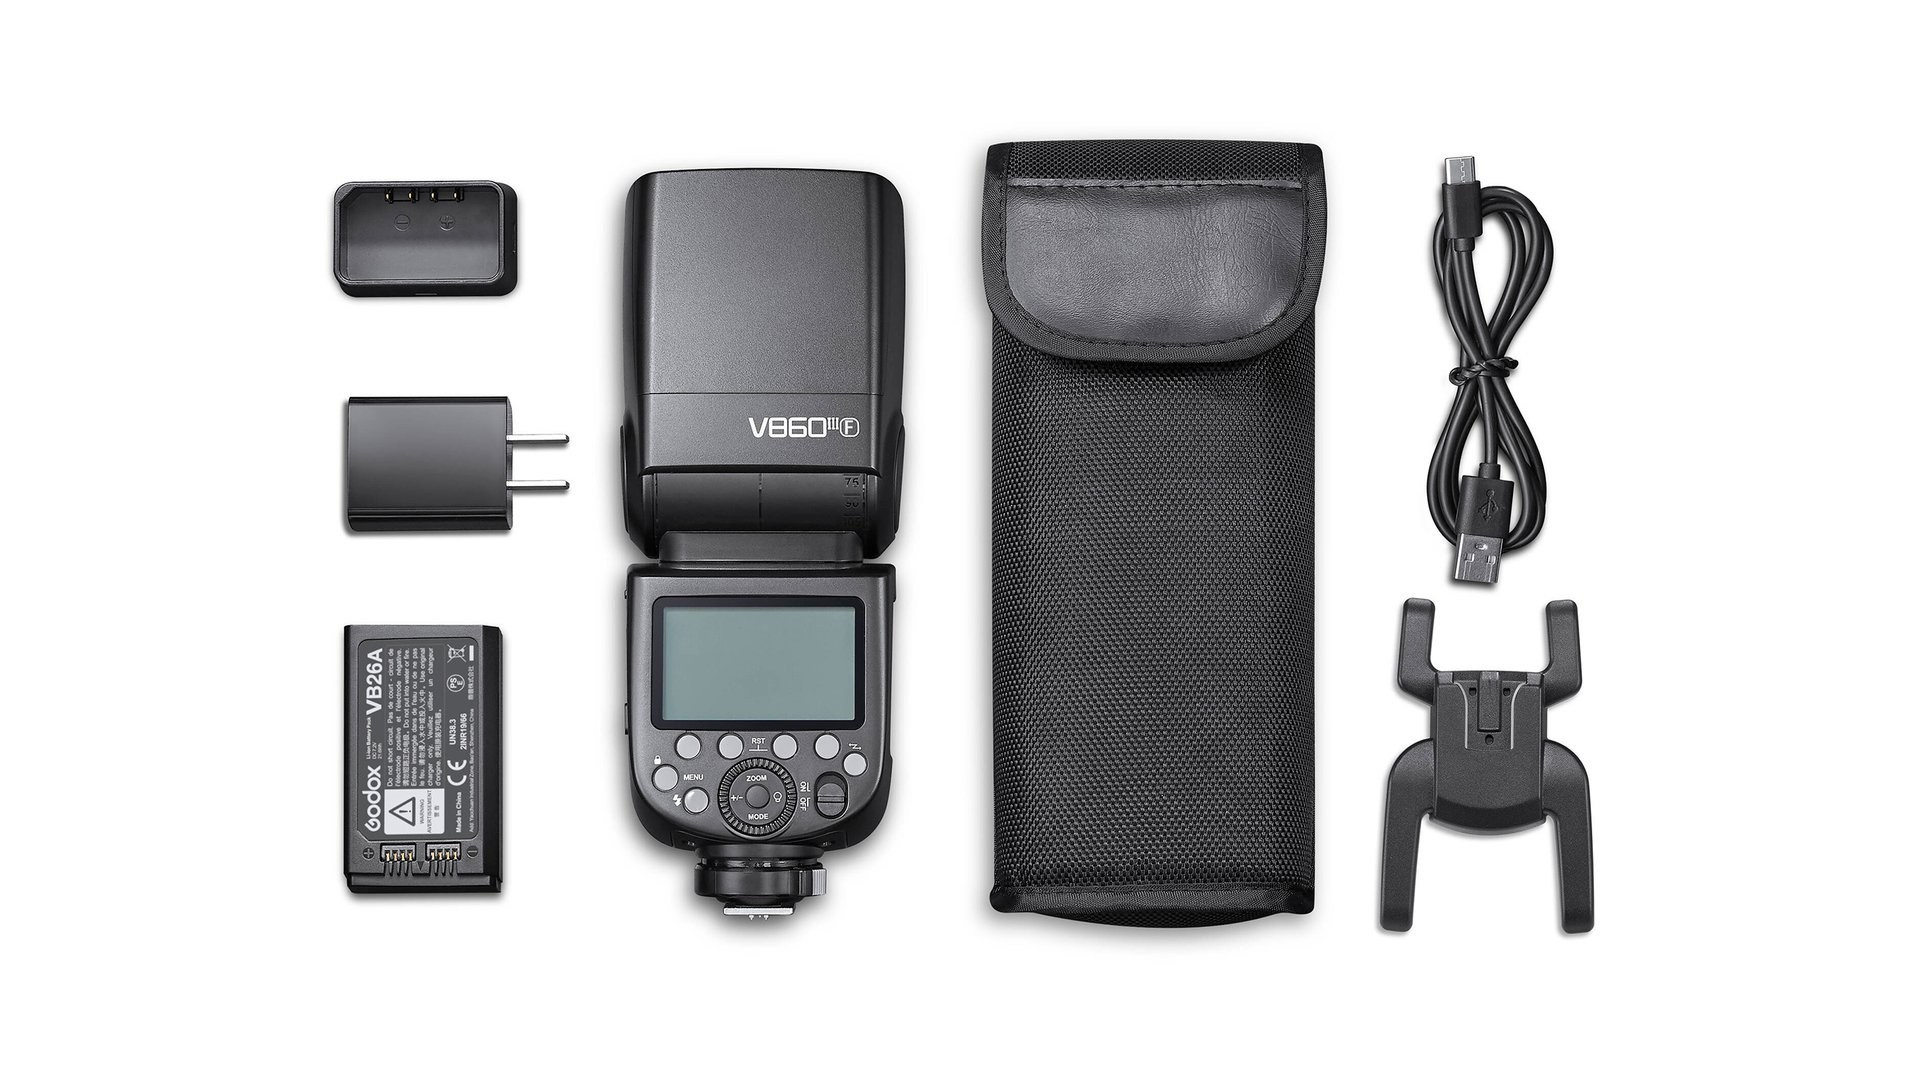
4. Godox V860 III F KIT
A powerful professional flash for demanding environments.
- Highlights: High output, long-lasting lithium battery, and a built-in modeling light.
- Usage: I rely on this model for group shots or large spaces where significant power is required. It’s a reliable workhorse for long, professional assignments.
#5 The Filter Guide: Protecting Your Lens & Creating Cinematic Shots
Filters in photography are not just accessories; they are tools for creative control and essential for gear safety. To protect your lens and give your shots a unique character, it’s vital to know which filter to use and when.
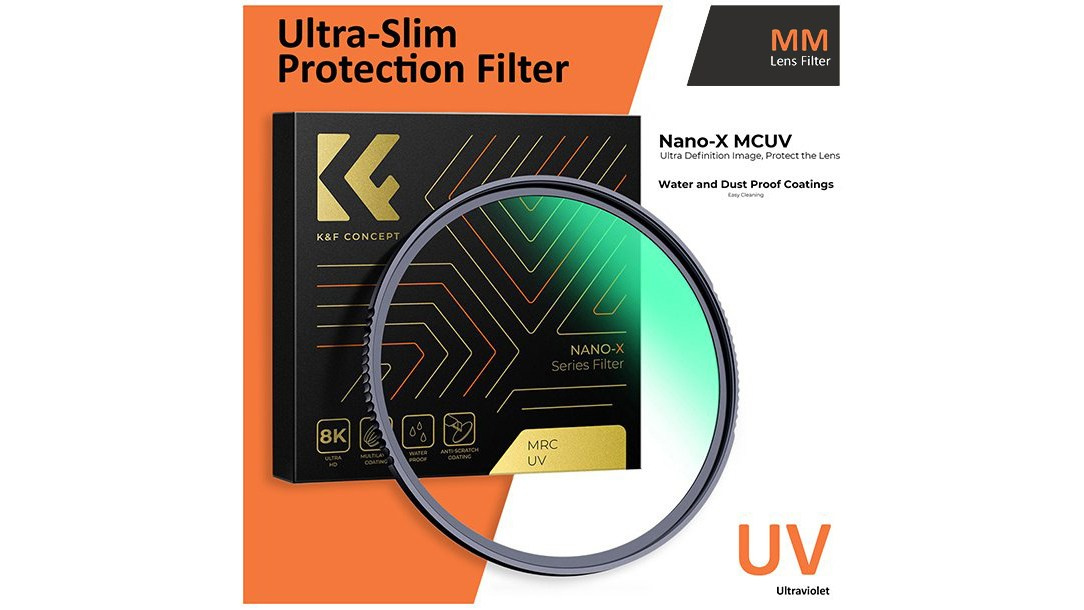
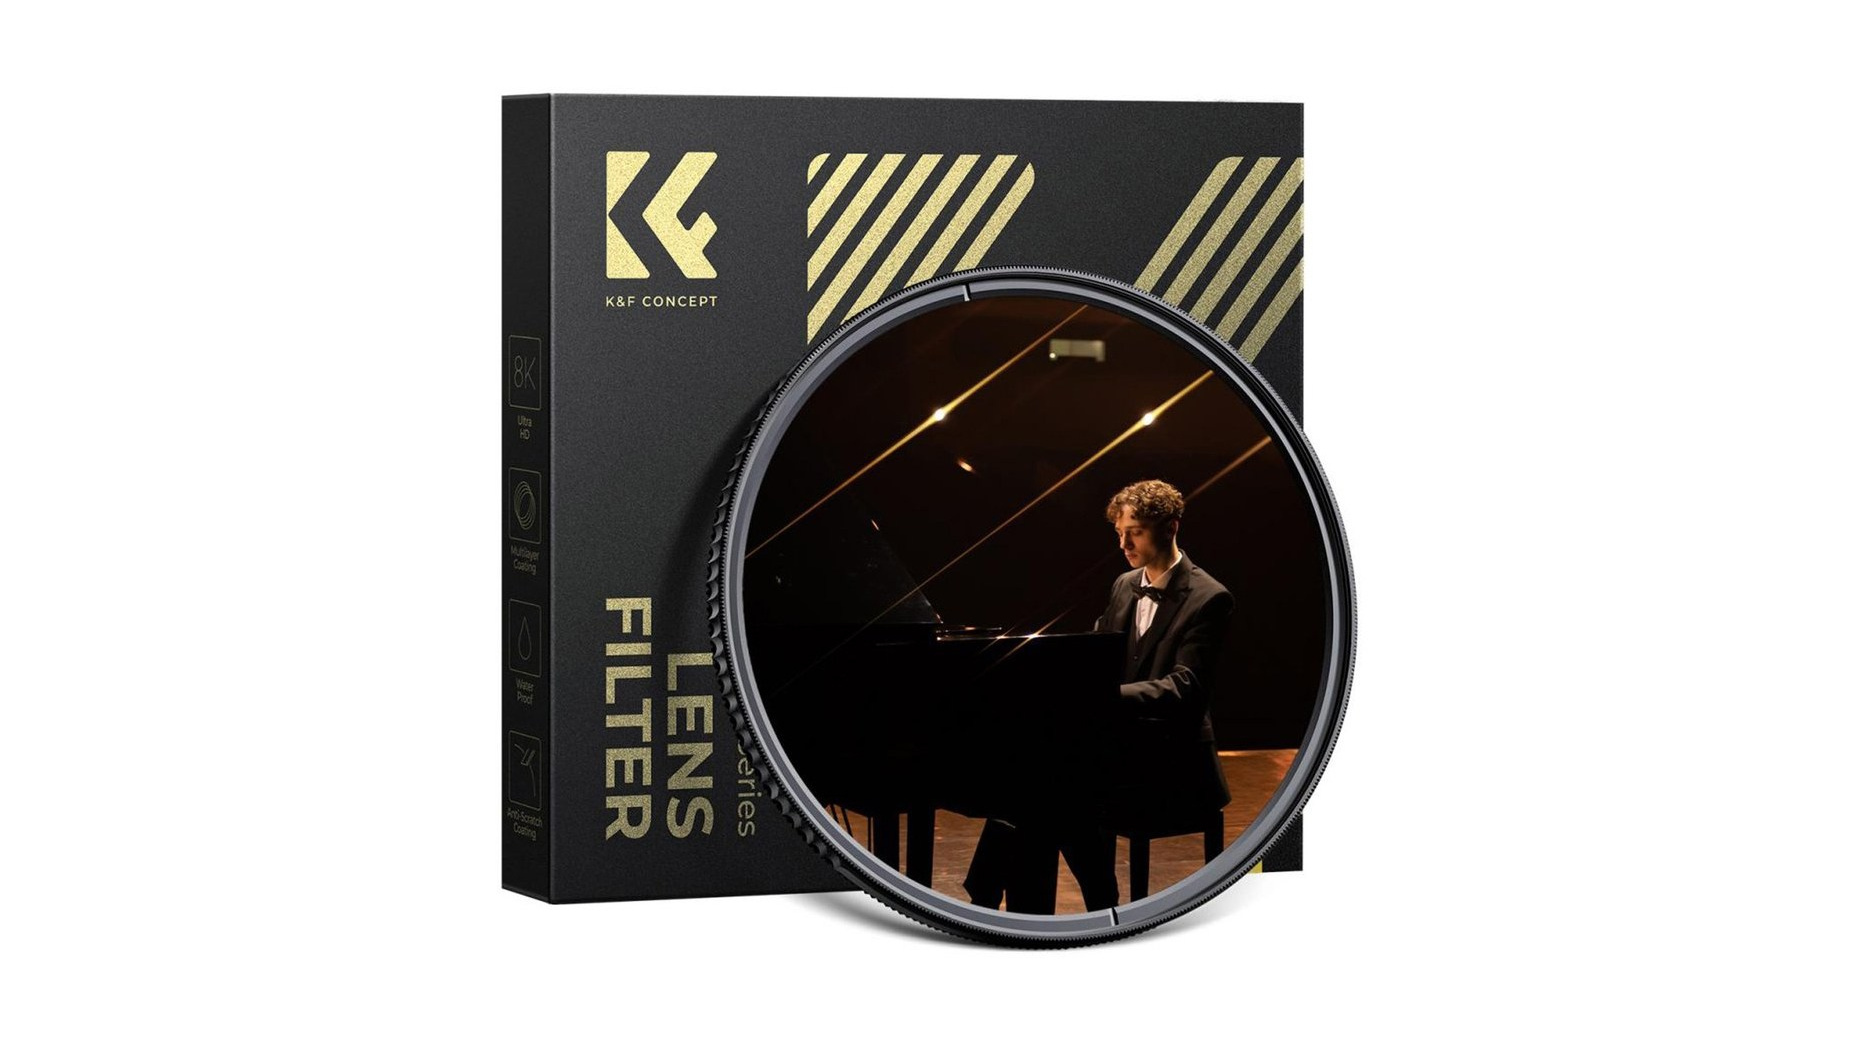
1. UV Filter — Your Lens’s “Personal Bodyguard”
The first thing I do when buying a new lens is attach a UV filter. It is a clear glass that has no impact on colors or sharpness, but working without it is a significant risk.
- Why you need it: It protects the front element from scratches, dust, and accidental impacts. Believe me, it is much easier and cheaper to replace a damaged filter than to repair an expensive lens.
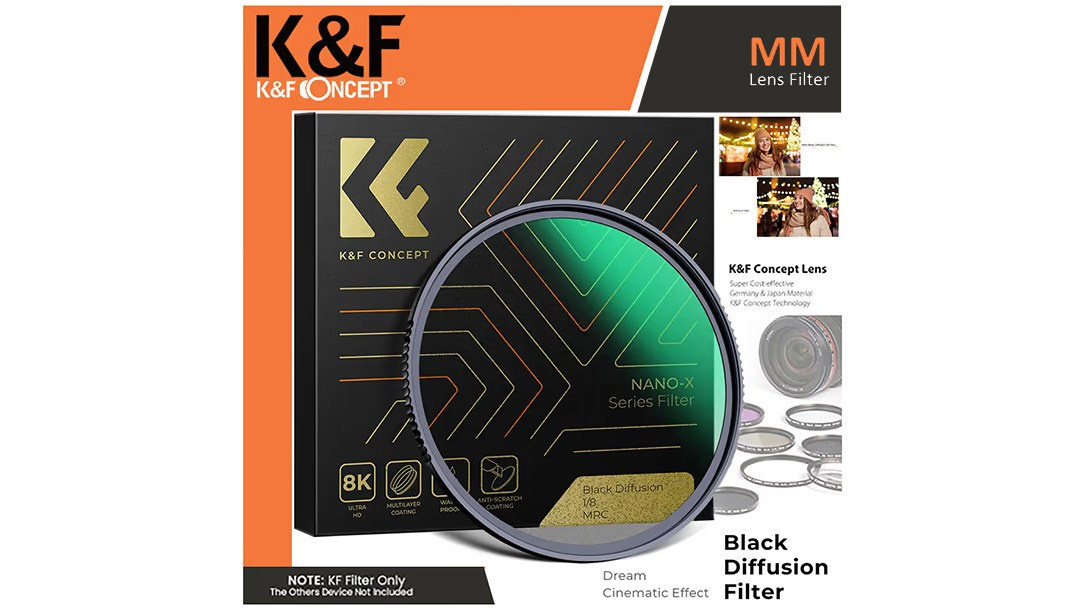
2. Black Mist — Adding Cinematic “Mystery”
If you want to reduce the clinical digital sharpness and give your frame a soft, film-like glow, the Black Mist filter is indispensable. It diffuses light beautifully and softens skin textures. There are three main strengths:
- ½: The strongest effect, creating a noticeable “halo” around light sources.
- ¼: The golden mean, and the one I use most often.
- 1/8: The subtlest effect, adding just a hint of atmospheric softness. Quick Tip: The larger the denominator (the bottom number), the subtler the effect.
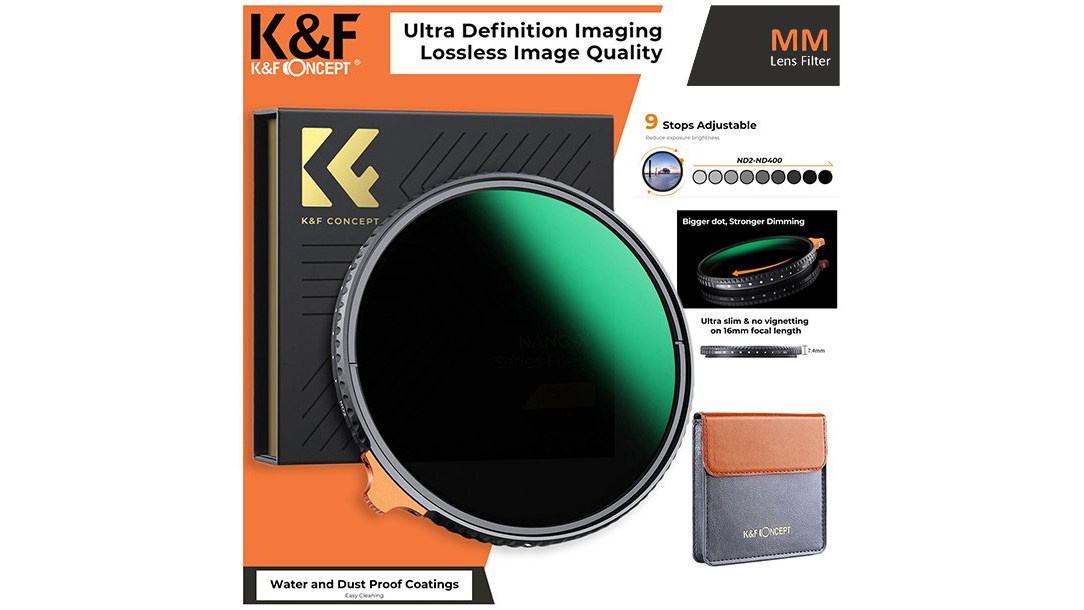
3. ND Filter — “Sunglasses” for Your Camera
An ND (Neutral Density) filter is needed when there is too much light and we want to “darken” the exposure artificially. I always recommend a Variable ND, as it lets you adjust the density by simply rotating it.
- For Video: Essential for shooting wide-open in bright sunlight to achieve that shallow depth-of-field look.
- For Stills: Used for Long Exposure photography during the day—for example, making moving water look smooth and milky.
What Else is Out There?
The world of filters doesn’t end there. There are many specialized options for various tasks:
- CPL (Circular Polarizer): Essential for landscapes and car photography; it removes reflections from glass and water.
- GND (Graduated ND): Perfect for balancing a bright sky with a darker foreground in landscape shots.
- Star & Streak Filters: Turn light sources into stars or add anamorphic-style flares for dramatic effect.
- Macro (Close-up) Filters: An affordable way to transform a standard lens into a macro lens.
- Infrared Filters: For those who want to experiment with surreal, otherworldly photography.
My Personal Advice for You:
Rule 1: Don’t Skimp on Quality. There’s no point in buying an expensive lens only to put a cheap, low-quality piece of glass in front of it. Poor filters ruin sharpness and cause unwanted flares. Always choose reputable brands.
Rule 2: Protection First. My practice is simple: I always keep a high-quality UV filter on my lens as a permanent shield. If I need a creative effect, like Black Mist or an ND, I stack them right on top of the UV.
Rule 3: Stay Flexible. Don’t be afraid to experiment. Having a variety of filters gives you more creative freedom and allows you to create art right in-camera, without relying on post-processing.
P.S. How to Choose the Right Filter Diameter?
Before you rush to buy a filter, you absolutely need to know the filter thread diameter of your specific lens. Filters come in many sizes (e.g., 49mm, 58mm, 67mm, 77mm, etc.), and if you buy the wrong size, you simply won’t be able to attach it.
Where to find this number?
- On the front of the lens: Most often, this number is printed on the retaining ring around the front element of the lens. Look for a number followed by the special symbol — a circle with a diagonal line through it (e.g., ϕ77mm).
- Inside the lens cap: Often, this number is also embossed inside the lens cap.
- In the manual or online: If you can’t find it physically, simply Google your exact lens model name followed by “filter size”.
A small friendly trick: If you own multiple lenses with different diameters (e.g., 67mm and 77mm), it is smarter to buy an expensive filter (like an ND) in the largest size (77mm). Then, for your smaller lens, purchase a cheap step-up adapter ring (e.g., a 67mm to 77mm Step-up ring). This saves you money, as you won’t need to buy the same expensive filter multiple times for different lenses.
#6 Camera Accessories: Ergonomics, Protection, and Style
For a photographer, a camera isn’t just a piece of gear—it’s an extension of our hands. When you’re holding a camera for hours on a shoot, it needs to be comfortable, secure, and let’s be honest, we want it to look good, too. That’s why there is a whole ecosystem of accessories designed to make the shooting experience so much better.
What Do We Need and Why?
- Camera Half-Cases: Usually made of leather or high-quality silicone, these cover the bottom and sides of your camera. Not only do they protect the body from scratches and minor bumps, but they also add a premium, classic aesthetic—especially to retro-styled camera bodies.
- Hand Grips: Compact cameras are great for everyday carry, but they often lack a deep grip. Add a heavy lens to the mix, and your hand will cramp up fast. Attaching an aluminum or leather base grip changes the ergonomics instantly, making the camera feel locked into your hand.
- L-Brackets: A type of grip with an added vertical metal plate. If you work with a tripod, an L-bracket is a game-changer, allowing you to swap from landscape to portrait orientation in seconds without messing with the tripod head.
- Straps & Slings: Factory neck straps are often stiff and uncomfortable. A wide, soft neck strap or a cross-body sling distributes the weight evenly. If you prefer holding the camera in your hand, a leather or paracord wrist strap provides peace of mind so you never have to worry about dropping it.
What I Personally Use (My Trusted Brands)
There are countless brands out there, but based on my personal experience, here are the ones I rely on and can confidently recommend:
- SmallRig: The absolute sweet spot for price and quality. Their grips, cages, and L-brackets fit so perfectly they feel like factory parts of the camera.
- K& F Concept: A very budget-friendly yet highly reliable choice. I’ve used their accessories many times and have often been surprisingly impressed by the premium feel.
- Freewell: Known for creative designs and extreme practicality. Their products always feature smart, innovative solutions that make a photographer’s life easier.
- Peak Design: Yes, it is on the expensive side, but it is worth every penny. Their refined design and, most importantly, their quick-release Anchor Link system for straps are simply unmatched. Once you use them, you can’t go back.
My Personal Advice: You don’t need to buy everything at once. Start by solving your biggest annoyance. If the camera feels too small or slippery, get a grip. If the default strap hurts your neck, invest in a Peak Design sling. Customize your setup to fit your hands and workflow, because when your gear is comfortable, the entire shooting process becomes far more enjoyable and productive.
#7 The Endless Search for the Perfect Camera Bag: How to Find the Ideal Balance
Hey friends, we’ve talked a lot about gear and accessories in previous posts. Now, we’ve arrived at a topic that is a familiar pain point for every photographer — bags. Because all this precious equipment needs to be safely stored and transported somewhere.
Honestly, choosing the ideal bag that holds everything, is comfortable, and looks good, is probably one of the most difficult tasks in our profession.
Why is it so difficult?
If you were to look in my closet, you’d think I own a bag shop. Seriously. Believe me, no matter how many I have, I’m always looking for something new and different. There is no such thing as “enough bags” for a photographer.
Why? Because every shoot day is different.
- There are days when I need my entire Fujifilm system (multiple lenses, lights, tripod), along with a laptop for on-site editing. In those times, there’s no way without a large, spacious backpack. Carrying multiple bags is a real nightmare, I’ve experienced that too.
- On the other hand, there are situations when I’m just going for a walk around the city, or meeting up with friends. I only want the camera, one small lens, and my personal items (phone, keys, wallet). In those moments, small, compact sling bags are a real lifesaver — lightweight, fast, and practical.
So, choosing a bag is always about adapting to a specific situation.
My friendly advice:
Don’t try to find that one “perfect” bag that does everything. Just accept the fact that depending on your shoot scenarios, you will need at least two options: one spacious backpack for demanding days, and one small, mobile bag for lighter outings.
The main thing is that the bag protects your gear well, but ergonomics are just as important — it shouldn’t tire out your waist and shoulders after hours of carrying. Customize it to your body and your workflow.
Final Results: What Did We Get?
1. Technical Security and Guaranteed Results (Total Security)
When your gear is protected, you are creatively free. With a UV filter on your lens, a secure SmallRig or Peak Design strap in hand, and a tripod controlling complex compositions, technical risks are minimized. Add high-performance Lexar cards and instant data duplication on SSD/HDD drives to the mix, and you have a bulletproof system. You no longer worry about equipment damage or data loss. This peace of mind is exactly what allows you to shift your entire focus onto the creative process.
2. Sustained Energy and Practical Comfort (Comfort and Energy)
Let’s face it, if your back and hand don’t hurt after a 10-hour shoot, that’s already a win. A well-chosen SmallRig Grip that makes the Fujifilm compact body perfect for holding, and an ergonomic bag that distributes weight correctly, allows you to be energetic until the last shot. You no longer get physically tired, which means you shoot more and deliver better work.
3. Creative Vision and Cinematic Atmosphere (Creative Freedom)
Now we’re moving purely into art. When you control the light with a SmallRig RGB light, soften digital sharpness with a Black Mist filter, and open the aperture completely in video with an ND filter, you are creating a character. This isn’t just fixing reality; this is your vision, your message in the frame. You have the tools to turn an ordinary scene into a cinematic masterpiece.